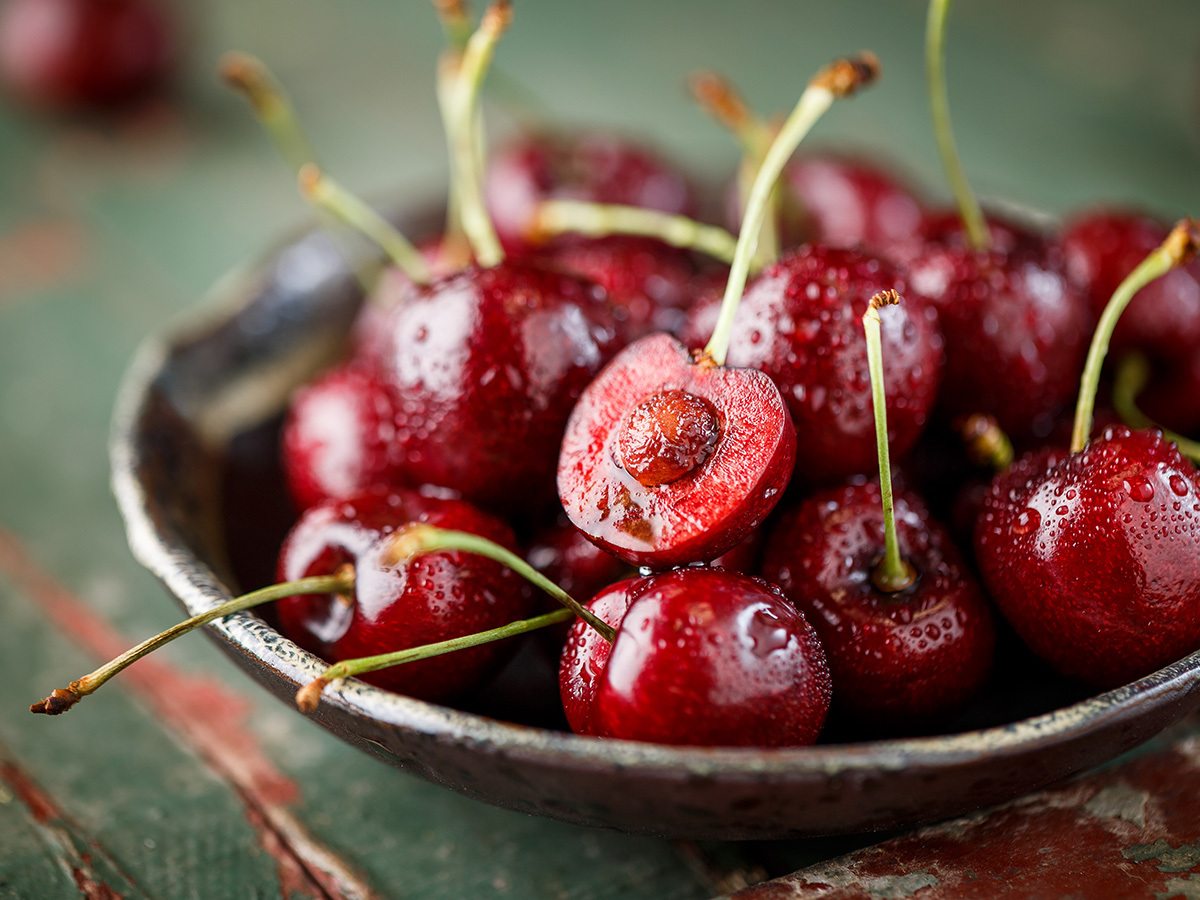
It’s cherry season and we are excited here at Oliver’s! During this brief season, we love stocking up and throwing cherries in all of our favorite recipes, like Black Forest Brownies, “Old Fashioned” Bourbon Cherries, cocktails, and even salads! We’ve also got some ideas for cherry condiments. Cherry BBQ Sauce or Spiced Cherry Chutney, anyone?
Most recipes call for pitted cherries, but do you really need a fancy cherry pitter? And what’s the best way to keep cherries fresh once you get them home? We address both of these questions below, so keep reading so you can make the best of our delicious cherry season!
Pit Stop
While cherry pitters are a fun tool, there’s no need to add yet another gadget to your kitchen drawer that you’ll only use a few times a year. There are plenty of ways to remove the pits of cherries using items already in your home. Here are four easy ways to pit a cherry without using a cherry pitter.
Chopstick Method
Don’t throw away those wooden chopsticks next time you get takeout, they’re a great tool to use when you need to pit a cherry! First, remove the stem from the cherry. Hold the fruit in one hand between two fingers, in your other hand hold the chopstick and position the smaller end into the stem hole. Gently, but firmly, press the chopstick into the pit and push it out the end of the cherry. We recommend doing this over a bowl so the pit and any stray juice falls into the bowl and spares you a mess.
Knife Method
Remove the stem from your cherry and place the fruit on a cutting board. Using the side of a small knife, press down on the cherry gently but firmly until you feel the cherry give way slightly – this helps loosen the pit! Make sure you don’t press too hard and crush the cherry. Next, make an incision from top to bottom on one side of the cherry and gently pull on either side of the cut to expose the pit then use your fingers to remove it.
Tearing Method
This is the method you use if you don’t care what the cherries looks like after your done pitting them – if they are going to be chopped for a recipe or blended into a smoothie, for example. This method also works best if your cherries are very ripe. First, remove the stem from the cherry, then grab the fruit with both hands and rip in two and remove the pit. This can get messy, so make sure you’re working over a bowl to catch everything.
Avocado Method
This is the perfect method to use if you need nice looking cherry halves. First, remove the stem from the cherry, then run a paring knife around the pit until you have made a cut all the way around the cherry. Pull the two halves apart by turning the two cherry sides in opposite directions. Remove the pit with your fingers. This method is also best to use with very ripe cherries, so that the pit will be easier to remove.
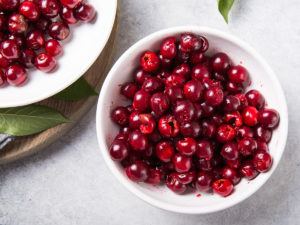
Store Them Right
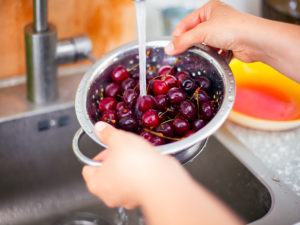
If you can get your cherries home from the store without eating them all in the car, you are ahead of the game! Store them in the fridge right away since cold storage is best for keeping cherries fresh. They like being kept in a plastic bag or storage container and stay fresh for at least a week. Don’t worry about washing them before you store them in the fridge – it’s best to rinse them in cold water just before eating. In fact, if you can store them between layers of paper towels to keep them dry in the fridge, that’s even better.
If you would like to preserve some of your cherries for later use, they do very well in the freezer. No canning needed! Give them a rinse in cold water, then pit them, or keep them whole, and spread in a single layer on a baking sheet and place in the freezer – this prevents them from sticking together. Once the cherries are frozen you can transfer them to a bag or container.
We hope you’re inspired to celebrate the delicious season of cherries this week at Oliver’s. Enjoy!
No comments yet. Add the first comment